Approveit Guide: XERO Bills & Approveit

Approveit Guide: XERO Bills & Approveit

Approveit Guide: XERO Bills & Approveit

Apr 14, 2025

Approveit Guide: XERO Bills & Approveit

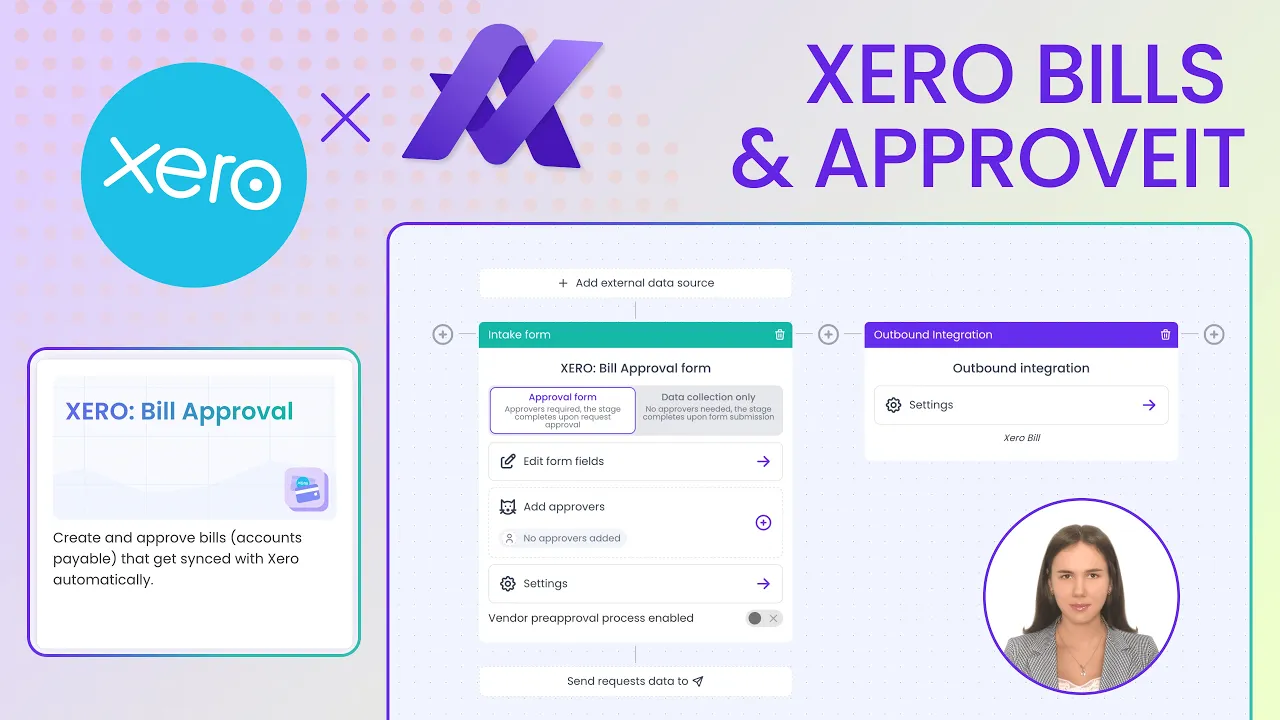
Setting up the XERO Bills workflow 

First, select the appropriate Approveit organization or create a new one.

Approveit–integration–settings–page–showing–multiple–connected–and–not–connected–apps–including–Xero–Google–Calendar–Approveit–AI–QuickBooks–SoftLedger–NetSuite–Zapier–and–BambooHR–left–sidebar–displays–navigation–menu–with–Dashboard–Reports–Workflows–Approval–requests–Tasks–and–Team–organization–dropdown–menu–is–expanded–with–options–for–Products–Accounts–Categories–Taxes–and–Company–details

To add a new XERO connection within one account:

Settings → Integration → XERO → Add or update connection

Approveit–Xero–integration–panel–showing–connection–to–Approveit–Inc.–status:–Connected;–button–‘Add–or–Update–connection’–highlighted–в–зеленом–цвете;–интеграции–справа:–QuickBooks,–NetSuite,–Zapier,–Google–Calendar,–Approveit–API;–навигационное–меню–слева–включает–Integrations,–Team,–Profile

Create new workflow Bill Approval 

Approveit-bill-approval-workflow-template-for-Xero-to-automatically-sync-accounts-payable-data-with-Approveit-system

In Approvers section can switch on conditional rules (set additional approvers if the Bill amount is above the specified threshold)

Approveit-bill-approval-step-setup-with-conditions-and-approvers-configuration-for-Xero-integration

XERO Bills integration: (step-by-step process)

When a new request is created a requestor has to choose the XERO account and organization

Approveit–workflow–dashboard–showing–organization–dropdown–expanded–with–links–to–Products,–Accounts,–Categories,–Taxes,–and–Company–details,–along–with–New–organization–button,–and–a–list–of–active–workflows–on–the–right–side

When creating the Bills Approval Request all the accounting data will come from your XERO account. 

If you need to add a supplier or product/service, you should do that in your XERO account. Categories and taxes are also set up in XERO

Approveit-bill-approval-request-form-with-product-details-and-purchase-order-linking-for-accurate-tracking

Once a requestor sends the request for approval (‘SUBMIT’ button), the Bill will appear in your XERO account with the status ‘Awaiting approval’.

If the Bill Approval Request is approved, the Bill will go from ‘Awaiting approval’ section to ‘Awaiting payment’ section in your XERO account.

If the Bill Approval Request request is rejected, the Bill will be deleted from the ‘Awaiting approval’ section in your XERO account. 

In request details you can also see the link to the Bill in XERO

Approveit-bill-approval-summary-with-Xero-external-link-and-detailed-product-service-information

If you have any additional questions, contact us right away. If you are new to Approveit, try it now for free!